Showing posts with label Mufasa. Show all posts

Monday, April 18, 2011

Fishing with Strolis

The second part of the weeklong ACF fishapalooza began last Thursday when I took off at lunch and headed over to the airport to pick up a good buddy Rich Strolis, of Catching Shadows, fresh off his flight out from CT. Rich is a great guy and seemingly guides more than he gets out to fish himself, so I really wanted us to have some success while showing him my central Ohio playground. After a quick stop by the house to drop off some gear and pick up other gear we took off to hit the Mad and chase some browns around. Our target area was a stretch I have not fished in a bit so it was fun to see how it has changed. True to her nickname of 'the Maddening River' she gave up her bites sparingly, but I was able to 'Mufas-ize' an 18" and a 16" fish. We moved a number of other fish with a few that hooked up and then decided they'd had enough and spit the hook. I do believe I will fish her again soon...


After a quick bite and a few Guiness we hit the sack knowing that our wake up call would come early the next day. As the alarm went off I was already eyes open and ready to go. Based on river levels and a few phone calls we decided to head up to the Vermillion to start off the day. We got there to see pretty clear water that was just a bit off color and enough fish around to play with. We walked a long stretch hoping to be able to swing a few flies, though we carried indi rods as well. The highlight of the morning was Rich hooking up on the swing to a big bright fish that took a hard tug and a few rolls before slicing his line for a quick getaway.


The oddity of the morning was a double landed fish. I nymphed through a run and burried my fly deep in the mouth of a drop back male. That guy was having nothing to do with my forceps in his mouth trying to get the fly...a few flops and he popped my line and took off with the fly still in. No big deal I figured as the fish was pretty beat up and not really picture material anyway despite being pretty girthy. About ten minutes later Rich yelled up 'Fish On' so I headed down to help out and found that he had his egg buried right next to my fly! Both flies removed, along with a third, from the mouth of this active dude and away he went.


Lunchtime hit and we took off to head east across the Alley. We stopped at my favorite river and found that it was super low and gin clear, but we decided to take a stroll anyway as it is so scenic. We did see a few fish but there was no getting near them, and the few spots in that stretch with nice dark slots were already manned upon our arrival. Wonder how wet wading in jeans worked out for that one family...brrrr... We finished off the evening with a long walk swinging flies on Conneaut before turning in for the night.


Saturday morning saw us hitting Elk despite the weather...which was ridiculous. We got there to find gin clear water, but the wind was starting to pick up. We kicked up a few fish here and there as we worked our way up river and marvelled and how gorgeous the area was. Long story short the wind was a steady 35mph and gusting to 50mph which meant that any attempt to mend and the wind would blow your whole rig upstream. The trees coming down all around us was a bit unnerving to say the least! At one point we heard a massive crash up around the bend and within minutes the river went to total chocolate for a half hour or so. Twice we had trees come down within about 25 yards of where we had just been so we were both a bit on edge. When the wind calmed down the rain picked up and within a few hours the river was visibly rising and the runs were chocolate milk so we called it a day.


I had a blast hanging out and fishing with Rich for a few days. Preliminary plans are in the works for a trip out east to chase some fish around...


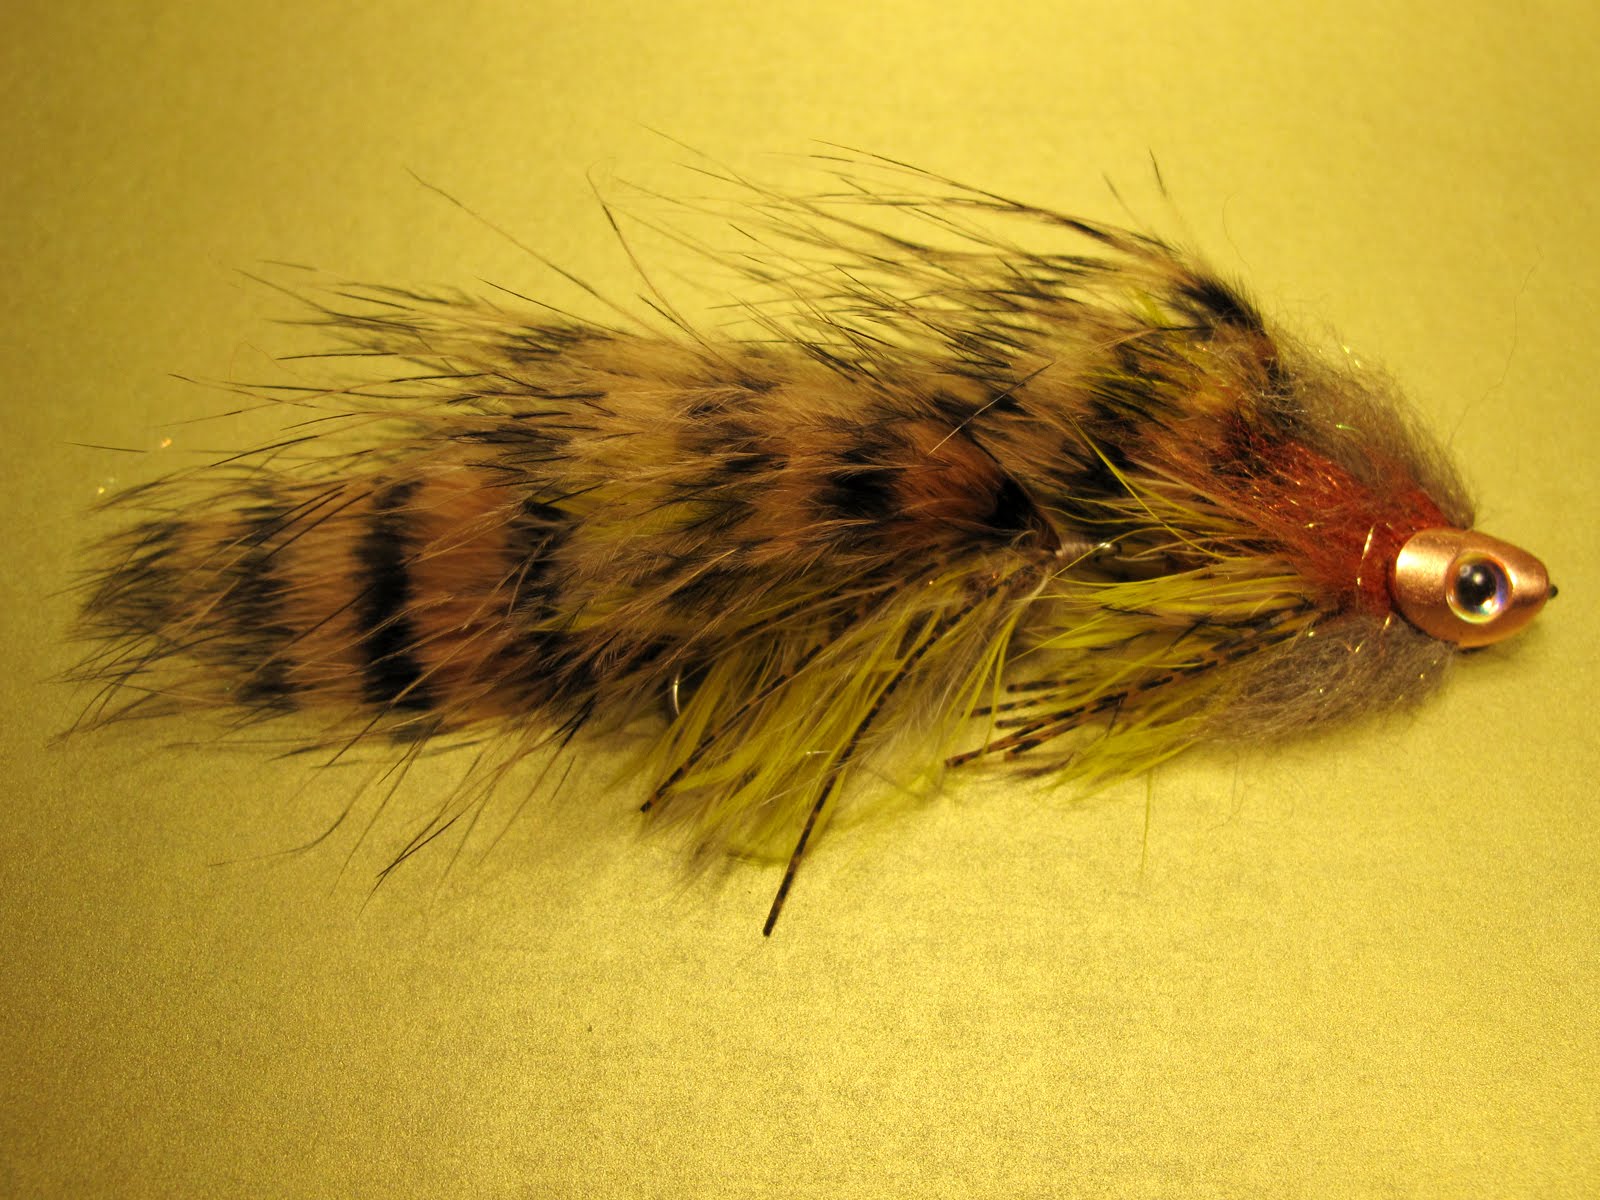
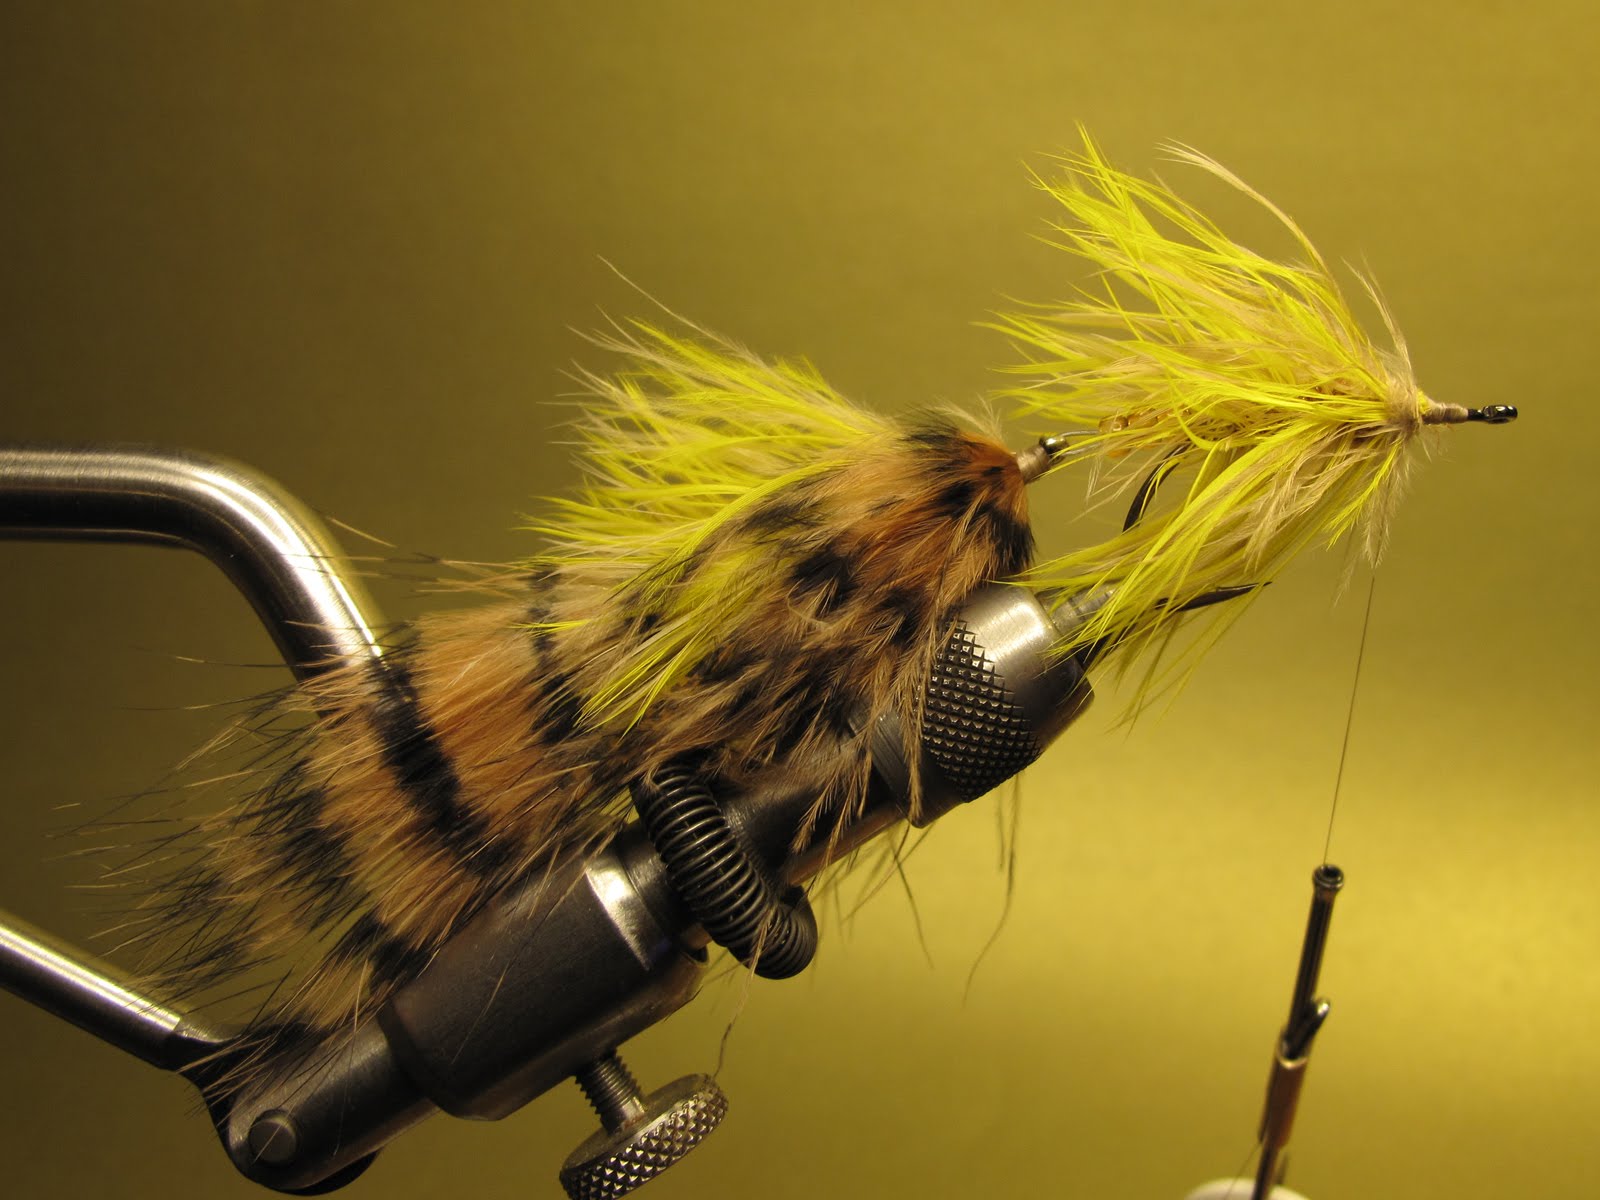
Also had a few good shots emailed over to me from some of my customers that are getting in to solid Michigan browns on ACF flies. Here are a few that took a Cotton Candy Double Deceiver, Red Rocket, and Voodoo Squatch. Thanks for the pictures guys, glad you are hammering on some fish!


Tuesday, April 5, 2011

Mufasa Step by Step

Mouthful of Mufasa...what a beautiful site! Since Martin gave me the prototype skulls to work with at Somerset I have been working with the Flymen Fishing Co Fish Skulls to come up with a pattern I can effectively streamer fish, and the Mufasa has been my most sucesssful articulated pattern with the Skull to date. Fished with quick jerk strips on a sinking line this fly has a great vertical action to it that really gets the fish going.

Thread: UTC140 denier, tan
Hook1: Gamagatsu B10S, size 1
Hook2: Gamagatsu SP11, size 1
Tail/top: Barred Marabou
Body1: Schlappen, tan and yellow
Body2: Ice Dub, copper
Legs: Barred Rubber
Head1: Senyo Laser Dub, dark tan and rusty brown
Head2: Fish Skull, large Coppertone
Weight: .035 lead
Eyes: 3D Epoxy, Super Pearl 1/4"
Epoxy: Clear Cure Goo, thick
Connect: Beadalon, 19 strand .018" with three size E beads

STEP 1: With your Gamagatsu SP11 size 1 in the vise get your thread started and wrapped to the back of the hook shank. Once at the rear tie in point, located above the midpoint of the hook spear, tie a single barred marabou feather hanging approximately one hook length off the back of the hook. Tightly wrap the material forward up the hook shank then return your thread to the rear tie in point.


STEP 2: Select both a tan and and a yellow schlappen feather to be tied in as the body. Grasp the feathers by their tip and stroke the fibers back so you can tie in the feathers by just the stem. The feathers should be tied in on top of each other at the rear tie in point, and with the concave side facing down.


STEP 3: Using a good amount of Ice Dub, to provide a bulky underbody, dub forward to about one eye width back on the hook. Having a properly dubbed underbody will allow the feather stems to sink down in the next step, and so protect them from teeth.


STEP 4: Taking the two schlappen feathers together, fold them and palmer the forward. Be careful as you wrap forward not to trap fibers down to the body.


STEP 5: Just behind the eyes tie in three barred rubber legs by their mid-point, so that three legs extend back down each side of the hook shank. Clip them relatively evenly so they extend about to the bend of the hook. Then tie in another barred marabou feather extending about halfway back on the tail, so as to form a nice taper.


STEP 6: With your Gamagatsu B10S size 1 hook in the vise use a 3" piece of 19 strand .018" Beadalon to attach the back hook. Make sure that the back hook is inverted, so the hook at this stage is pointing up. You will string on three size E beads to help keep the wire gap closed, resulting in less fouling of materials.


STEP 7: With the two hooks securely attached you will add a little additional weight. This weight will give the fly a little more vertical motion on retrieve and ensure that the fly rides correctly, with the front hook up. You will attach two pieces of .035 lead side by side on top of the front hook shank. They should cover about two thirds of the shank but not too close to the front where the head will be added.


STEP 8: As in step two, select both a tan and and a yellow schlappen feather to be tied in as the body. Grasp the feathers by their tip and stroke the fibers back so you can tie in the feathers by just the stem. The feathers should be tied in on top of each other at the rear tie in point, and with the concave side facing down.


STEP 9: Same as steps three and four you will now dub the underbody of Ice Dub and palmer the two feathers forward. This should reach about two thirds forward on the hook shank.


STEP 10: Again, tie in three rubber legs by the midpoint resulting in three legs down each side. Trim them about where they reach the eye of the rear hook.


STEP 11: Invert the vise and tie in a topping of Barred Marabou extending back to about the midpoint of the rear hook.


STEP 12: Pull a clump of dark tan Senyo Laser Dub from the bag then pull and stack the material so that all the fibers are in the same direction. Tie in that clump on top of the hook shank by it's mid-point and then repeat with a clump on the bottom of the hook shank. It will take doing it a few times to get the amount correct; what you are aiming for is as much as you can add and still comfortably slide the Fish Skull over it.


STEP 13: To add the appearance of gills tie in a small pinch of Rusty Brown Senyo Laser Dub on each side.


STEP 14: To assist with this step I tile the front hook up a bit in the vise. Make sure the 'heavy' side of the Fish Skull on the opposite side of the shank from the hook point so it will ride correctly, then slide the large Fish Skull directly over the eye of the hook, reversing the materials and forcing it backwards, until the eye of the hook comes through the slot. Secure the skull in place by squirting some Clear Cure Goo thick through the slot and on either side of the eye, then hit it with the light to cure it and the Fish Skull is going nowhere.


STEP 15: The final step is to add eyes. I personally do not use the eyes that come with the Skulls, instead opting for 1/4" 3D Epoxy Super Pearl eyes. Just a little dab of Loctite Gel and hold them in place until it heats up.


I have mostly used this pattern in the tan and olive variations as the heads I got when they first came out were these two colors. With seven colors of head this pattern can be altered to suit your local forage. I can say that recently I have done well fishing a variation with the black head, black marabou, black and blue schlappen....